
HAND TUFTED RUGS – REPLACING THE BACKING
The life expectancy of a tufted rug is the same as the life of the glue that holds the rug together. This may be eight, ten or twelve years depending on maintenance and traffic. Their are some high end hand tufted rugs like Scott Group or Stark that may last a few years longer. Eventually the glue wears out and fails. The rug comes apart. A tufted rug can only withstand so many cleanings. When the glue fails, the rug needs repair or replacement.
This tutorial is on how to give the rug a few more years of useful life by replacing the glue and backing. Your repairs, If done correctly, can make the rug better than new.
Cautions:
1. Always inspect and pre-test. Document and photograph. Note all pre-existing damage.
2. The latex glue decays over time. Look for powdery residues,
3. Inspect for delimitation of backing.
4. Look for glue migration onto face pile.
5. Look for pulled tufts and voids.
6. Check squareness of rug. Is it misshaped?
7. Look for stenciling.
8. Test for colorfastness, bleeding, crocking and stenciling.
Repair procedures:
1. Dust rug and wash rug to decontaminate. See tutorial, “Hand Tufted Rugs”.
2. Remove the border if glued on. Be careful to not damage or stretch the rug. Sometimes the border
is the outside edge of the tufted canvas, so do not remove it, just cut the threads that hold the
edge hems.
3. Remove the backing. The delaminated areas will be easy to pull off. In areas where the glue is
still strong, use live steam gun to soften glue, or soak with hot water. After the adhesive is
weaker, carefully pull backing off. Avid pulling face pile tufts out with the backing. You may have
to re-steam some areas.
4. Clean up backing after it drys. Vacuum thoroughly to remove dried out adhesive and other
contamination. Be careful to not damage the backing or pull out tufts.
5. Cut backing material to size. Roll onto a carpet tube to facilitate applying it onto the wet
adhesive.
6. Use a notched trowel to spread out latex adhesive, follow adhesive label directions. Roberts
6700 indoor/outdoor carpet adhesive or equivalent is recommended. The use of a 1/8 X 1/8 X 1/8
trowel will provide 65 to 75 square feet of coverage per gallon. Spread only 3 or so linear feet of
glue. Unroll only 2 or so feet of backing material onto adhesive, insure proper alignment and
smooth out backing material. Apply another 3 or so feet of adhesive, and so on until finished.
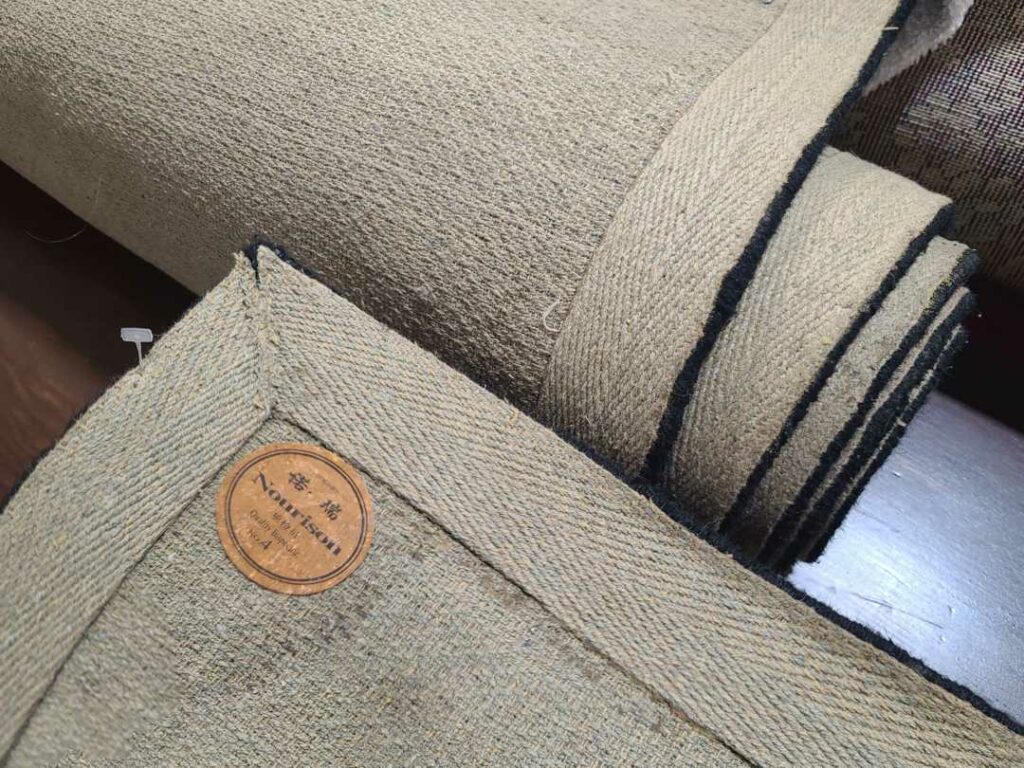
7. Apply new border. Many use a hot melt glue gun to bond the border to the rug. This border tape
covers over the edge of the backing and the edge of the rug, when you get to the corner, you can
simply let them overlap, but cutting at a 45 degree angle makes for a better finished corner.
8. Let the rug stay undisturbed to allow the adhesive to fully cure, about 48 hours depending on
conditions and adhesive used.
Optional method:
1. Leave secondary backing in place and apply new adhesive to the “top” of the backing.
2. Clean as noted above, including backing.
3. Apply adhesive to backing with paint roller and brush. Bond products AAT-1132 Custom Rug
Compound or equivalent is recommended. Coverage is approximately 150 to 300 square feet per gallon.
4. Allow to completely cure/dry before moving rug, approximately 24 hours depending on conditions.
Upgrade method:
1. Substitute a felt carpet cushion in place of a cheap canvas backing for a “better than new’
repair upgrade.
2. Repair backing as above, just substitute a felt pad like Rug Pad Wizard Eco Value or equivalent.
Use hot melt glue gun to bond the edge of the cushion.
Charge for both the backing repair and the new cushion. Wow! Better than new.